
Install the BelkaVPN WireGuard app (PC/Mac)
Download the BelkaVPN WireGuard app, import a tunnel config, and activate it on Windows or macOS.
Install the BelkaVPN WireGuard app (PC/Mac)
This guide shows you how to use BelkaVPN with WireGuard on your Windows PC or Mac. WireGuard is a newer VPN method that's known for being fast and secure. The setup works just like the OpenVPN one: you download the WireGuard app from your BelkaVPN dashboard, create a small setup file (a .conf tunnel file) that points the app at a server, load that file into the app, and turn it on. Each step is spelled out below, so you can follow along at your own pace.
[!NOTE] Before you start: you need a BelkaVPN account. If you don't have one yet, create an account first. A single account lets you connect to BelkaVPN servers in locations all over the world.
Quick summary
- Sign in at belkavpn.com and open Download.
- Download the WireGuard app for your computer and install it.
- In the Config Generator, pick a country and download a WireGuard
.conffile. - Load the tunnel file into the WireGuard app and click Activate.
Step 1 — Download the WireGuard installer
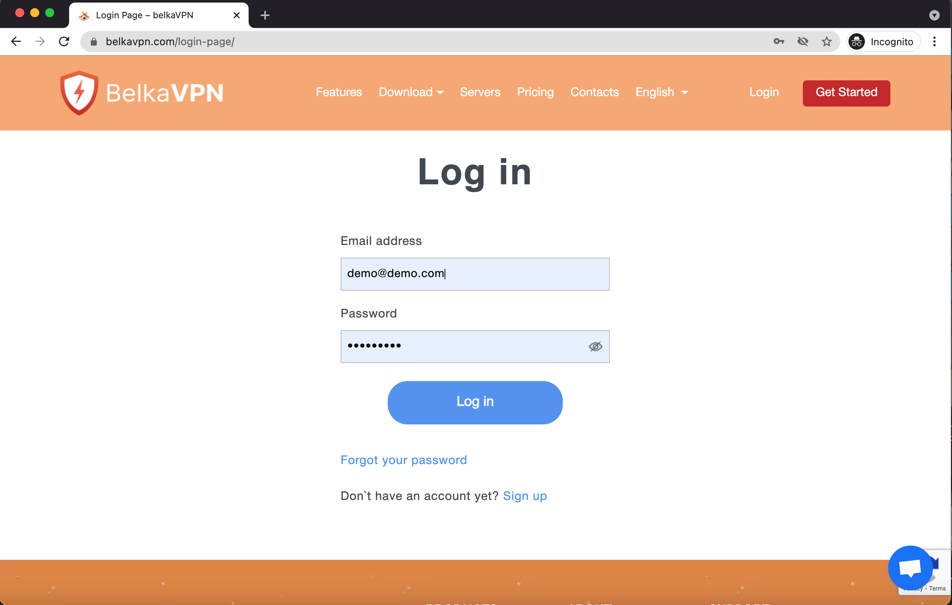
- Go to the BelkaVPN login page, enter your email and password, and select Log In.
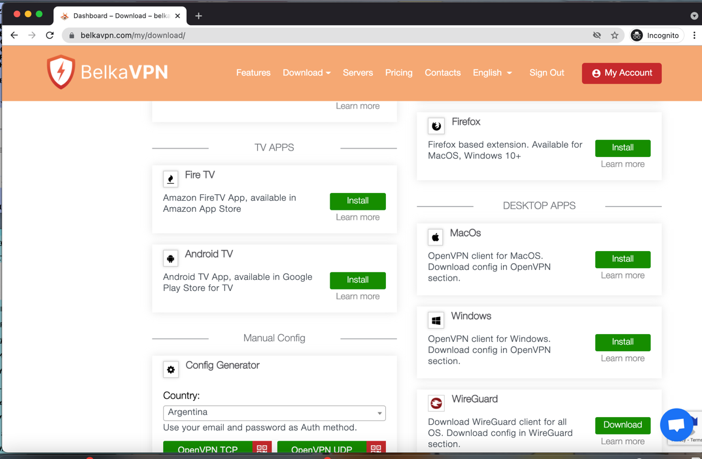
- In the sidebar on the left, below Overview, click Download.
- Under Desktop Apps, find WireGuard (listed below the Windows option) and download the installer (the file that sets up the app):
- Windows — download the Windows installer.
- Mac — download the macOS installer.
[!NOTE] The exact Download page layout and per-platform WireGuard installer links couldn't be confirmed against the current dashboard — verify the download location and filenames before publishing.
Step 2 — Install the app
Open the file you just downloaded and follow the on-screen prompts until the app finishes installing.
- Windows — double-click the installer and click through each prompt to accept it.
- Mac — open the installer and follow the steps it shows you.
Step 3 — Generate a tunnel config
A tunnel file (the .conf file) tells the app which BelkaVPN server to connect to. Here's how to create one:
- Back in your web browser, return to the BelkaVPN Download page.
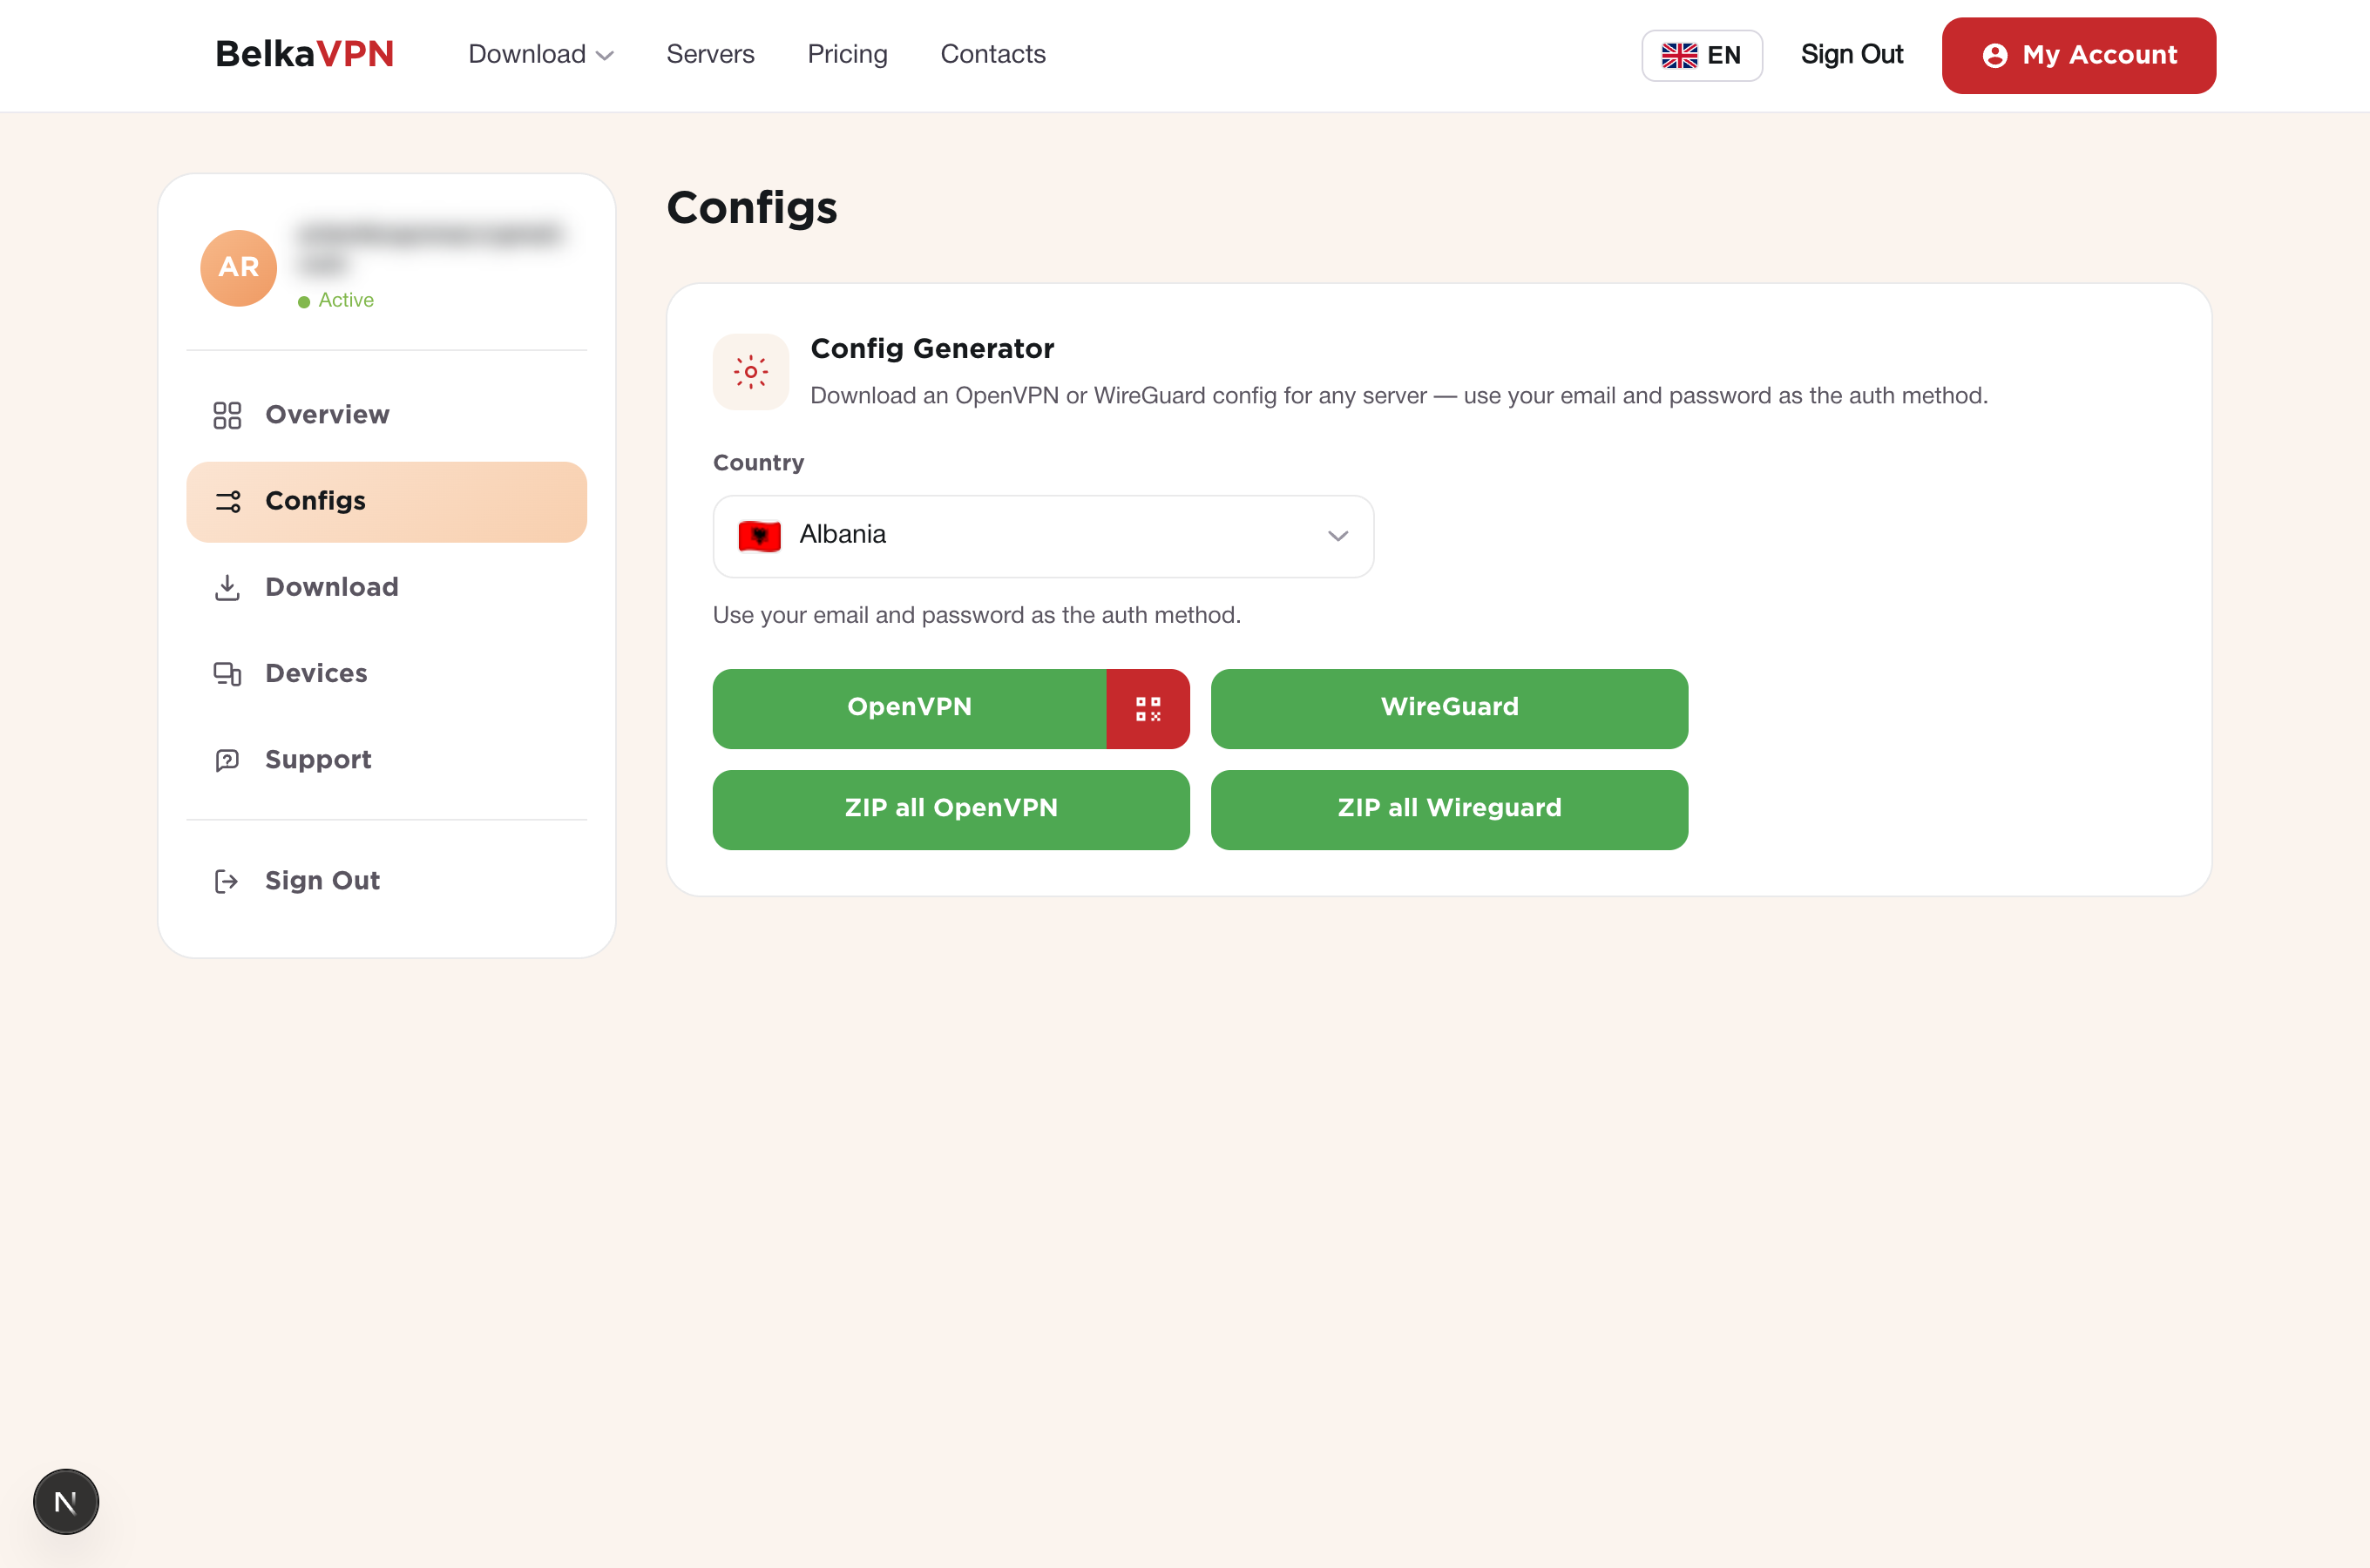
- Scroll down to the Config Generator.
- Choose the country you want to connect through.
- Click the WireGuard button (below OpenVPN UDP). A
.conffile downloads to your computer automatically — you'll load it in the next step.
Step 4 — Import the tunnel and activate
- Open the WireGuard app you just installed.
- Click Import tunnel(s) from file, then find and select the
.conffile you downloaded. - The tunnel now appears in the app's list.
- Click Activate. When the status changes to Active, you're connected with WireGuard.

Troubleshooting
- You can't find WireGuard on the Download page. Look under Desktop Apps, below the Windows option in the app list.
- Nothing downloads from the Config Generator. Make sure you picked a country before clicking the WireGuard button, then check your browser's downloads folder.
- The tunnel loads but won't activate. Create a fresh
.conffile for the same location and load it again, or try a different country in the Config Generator.