
Manual WireGuard setup on iOS
Download a WireGuard config from your BelkaVPN dashboard, import it into the WireGuard app, and connect — in three steps.
Manual WireGuard setup on iOS
WireGuard is a fast, modern VPN protocol. This guide sets it up manually on your iPhone or iPad in three steps: download a config file from your BelkaVPN account, import it into the official WireGuard app, and connect. A config file is a small file that tells the app how to connect. The screenshots show an iPhone, but the steps are the same on any iOS device.
[!NOTE] Before you start: you need a BelkaVPN account and the WireGuard app from the App Store. If you don't have an account yet, create one first, then install WireGuard from the App Store.
Quick summary
- Install the WireGuard app from the App Store.
- Download a WireGuard config from your BelkaVPN dashboard.
- Import the config into WireGuard and connect.
Step 1 — Install the WireGuard app
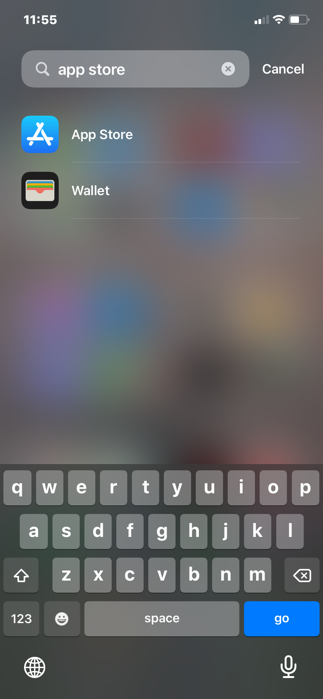
- Open the App Store on your device.
- Tap the search bar and search for WireGuard.
- Open the official WireGuard listing. Look for the maroon WireGuard logo, then tap GET to install.
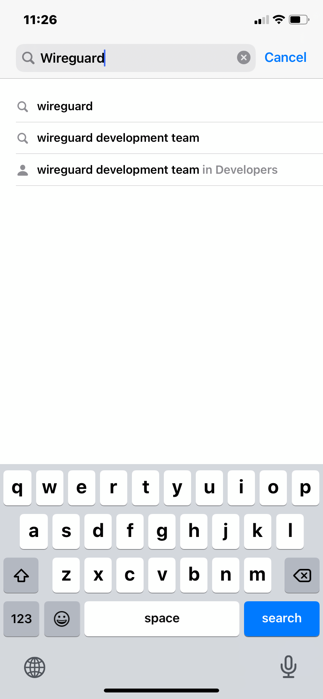
When the download finishes, the WireGuard app appears on your home screen.
Step 2 — Download your WireGuard config
You create the config in your web browser, using your BelkaVPN account. You don't need to do this from inside the WireGuard app.
- Open Safari and go to belkavpn.com. Log in with your email and password.
- Open the Dashboard Menu, then tap Download.
- Scroll down to the Config Generator.
- Select your country.
- Tap the WireGuard button, then tap Download.
[!NOTE] The legacy dashboard used a Config Generator with four buttons (WireGuard being one of them). On the current site the path is belkavpn.com → your account → configs — if you can't find the Config Generator by that name, look for the config or download section of your account dashboard.
[!TIP] WireGuard isn't supported in every location. If the country you pick returns an error, choose a nearby supported location instead.
The config file downloads and appears in the download indicator in the top-right corner of Safari.
Step 3 — Import the config and connect
- Tap the downloaded config file to open it.
- Tap the share icon (the square with an upward arrow) in the top-right corner.
- In the share sheet, tap WireGuard (next to AirDrop).
- When iOS asks for permission to add a VPN configuration, tap Allow.
[!TIP] Adding a VPN configuration is a normal, one-time iOS prompt. It's safe to allow.
WireGuard opens automatically and creates a tunnel (a connection) from the config.
- Swipe the tunnel's switch on. When it turns green, you're connected.
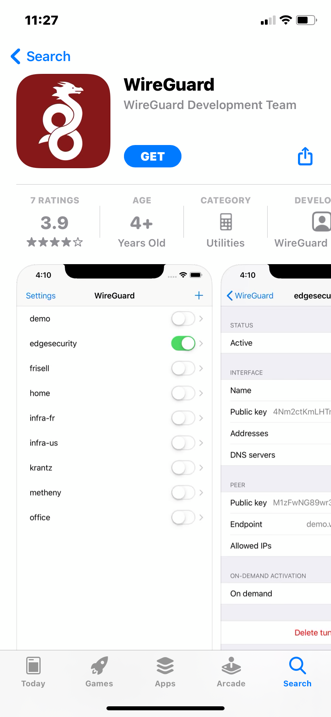
When the toggle is green, you're connected.
Troubleshooting
- The country returns an error in the Config Generator. Not every location supports WireGuard. Pick a nearby supported location and generate the config again.
- The tunnel won't turn on. Delete the tunnel in WireGuard and re-import the config. Make sure you tapped Allow when iOS asked to add the VPN configuration.
- Can't sign in to the dashboard. Confirm your subscription is active and your credentials are correct by signing in at belkavpn.com.